
Introducing Weather Wardrobe: The quickest way to get dressed in the morning
Many years ago (2008 to be precise), Joyce had the idea of a website that told her what to wear based on the weather. Over the years I’ve made a couple short lived attempts at implementation, but I always got hung up on one thing or another, trying to implement the fully mature solution for day 1. This often led to neglect after a few days, or wasting time debating possible features. I even went on an exhaustive search for the best weather API back in 2011 that I blogged about due to lack of information on the internet. Unfortunately, all that effort never yielded any tangible results beyond some lost time on my part.
However, recently I spent some time at LaunchPadLab hacking on a friend’s side project, The Brewer’s Barrel. It got my juices flowing a bit to do some hacking of my own, and I remembered the once simple idea that I made overly complex (as I often do). I decided that I just wanted to ship a usable website. No fancy pictures of clothes. No user signups. A simple algorithm. All that could be upgraded later. And so I put together Weather Wardrobe last Saturday.
Getting Started
While I still have plenty of ideas (and a roadmap of features to add at my own leisure), I reflected a bit on what the core features needed to be for day 1 to simplify my effort. It really broke down into the following two features:
- Need to retrieve the weather based on the users location
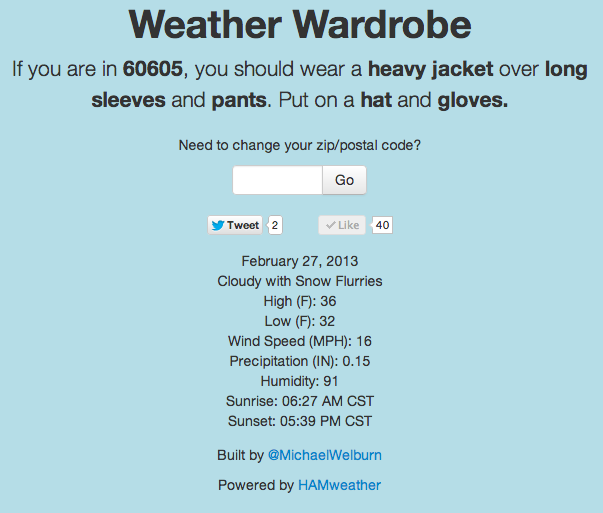
- Need to take that weather information and give the user correct information
The Back End
The first feature involved selecting a weather API from which I could retrieve the pertinent data, so I went back to my previous blog to see what the competitors were. Since my experimentation a few years ago, another site started to gain some popularity: HAMweather (now AerisWeather). It seemed very similar to my previous favorite, wunderground, but provided some decent documentation (wunderground’s documentation is pretty barren) and took in a few different entry parameters I thought important (postal codes and geolocation). It also had a slightly more favorable developer (free) package than wunderground, so I decided to try it out.
After figuring out a couple of oddities with the API (namely that their version of what the temperature “feels like” is valid only at 6am, yet the rest of the forecast is for 6am to 6pm), I was ready to start building. I hadn’t built anything with Ruby on Rails in a while, so I settled on that as a way to quickly get something up and running (but also realizing I could quickly toss in some gems for future phases to handle things like user signups). There didn’t appear to be a current gem for HAMweather, so I ended up just using HTTParty to get the information, did a little parsing of my own, and set up a simple algorithm that returned different clothing values.
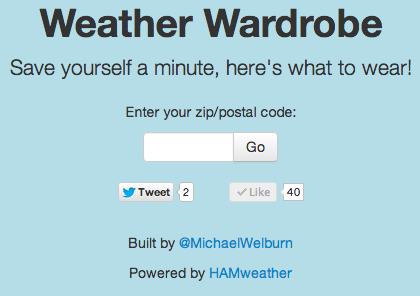
Once that piece was done, it was time for the front end. Originally I had planned to leverage HTML5 Geolocation or client side IP Address resolving to show the user the weather immediately. However, this initial site wasn’t using any AJAX due to limiting scope creep, and I didn’t want to load the page once, get that data, and force refresh it (seemed confusing to the user) so I decided to just add a postal code box for manual entry. Presumably Geolocation will show up pretty soon as it seems like an easy win for mobile users or a future hybrid application on the App Store.
The Front End
My biggest fear when I build these side projects is the user interface, or more specifically, my inexperience making anything look good. This is the reason a lot of my projects seem to get 80% of the way and die off — the backend is built, but I don’t know what to do on the front end. Keeping with the simple theme, I stuck with the standard fonts, input boxes, and buttons from Bootstrap. I also picked a background color that I associated with weather and didn’t hurt my eyes, and called it a day.
Once I got those two main features implemented, I added a couple other quick wins. The first was ensuring that the site was responsive and looked good on mobile devices, as I suspected that most people would probably check it out on their phones. This was pretty simple using Bootstrap and didn’t really affect my development effort. I played around with CSS Media Queries as well to fiddle with font sizes on the phone to ensure all the pertinent information showed up on the screen without having to scroll.
Another quick effort was doing some validation with javascript on the input box to try and filter out any non USA or Canada postal codes. Unfortunately, HAMweather doesn’t yet support querying for postal codes outside of those regions, so until I implement Geolocation (which works most everywhere) I am attempting to limit the values entered to let the overseas users know immediately, as well as to catch accidental errors.
Extra Features
I added a couple of other features to Weather Wardrobe once it was functionally complete, partially out of curiosity, and partially out of need. Keep you eyes open for some follow up posts that dive into the use cases for each, but I integrated mixpanel and Google for analytics as well as redis for caching. These were all pretty trivial things to add in, so I felt it was worth leveraging them from day 1.
I also included social media buttons for Twitter and Facebook at the last moment. I did not realize how slow they were to load compared to the rest of the site, but until I can remedy that I felt the tradeoff for ease of sharing was worth it (and with 40 Likes in the first 24 hours, I ended up being right).
Once these features were ready to go, I spun up a Heroku instance (keeping with the theme of free) and set up my custom domain (which I’ve owned for about 4 years), and did a little bit of informal testing before exposing it to the world.
Summary
I’m pretty pleased at what came out of a day’s work, and more excited that it actually works and people can use it. There are definitely a lot of small things to clean up, but functionality is the most important feature that I can deliver.
If you haven’t already, please check out Weather Wardrobe. I’d love to get any feedback about what you think about the site or any ideas you have that fit your needs! Get in touch with me in the comments below, the contact form, or on Twitter at @MichaelWelburn.